Feature Release: Introducing the Zapier Integration to Jetpack Workflow
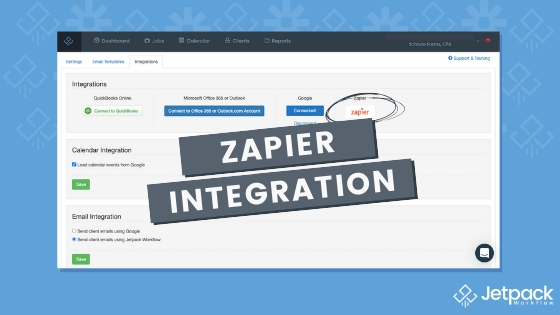
While you were busy finishing up taxes for your clients and dealing with more than you thought was humanly possible this July (yes, it’s only July), we were putting some final touches on the newest Jetpack Workflow feature: Our brand new Zapier integration!

You can now easily keep client information up-to-date between Jetpack Workflow and your other tools as well as make the client onboarding process much more seamless and easy.
Have questions about this integration? Check out the full webinar replay.
What is Zapier?
Zapier is the leader in connecting web apps together for automating workflows and has over 2,000 connected apps. It requires no coding knowledge and is easy to set up for any firm owner or administrator. Check out their how it works page to learn more about how easy it is to use.
An integration with Zapier has been the second most requested feature from Jetpack Workflow customers, so we knew it was important to get this out into the world and into people’s hands. The Jetpack Workflow < – > Zapier connection offers a new way for accounting and bookkeeping firm owners of all team sizes to connect their most important apps together for an improved and smooth experience.
Check out our intro video below to see the ways you can start using the Zapier integration with Jetpack Workflow.
Don’t forget to check out the full webinar replay to learn about this new integration!
Why Integrate Jetpack Workflow with Zapier?
We see two huge advantages to this new integration release with Zapier:
- Automate Jetpack Workflow client details across platforms. For example, if you land a new client and have them sign a new proposal using Practice Ignition, you can configure that update to send to the client profile in Jetpack Workflow; and vice versa.
- Onboard new clients seamlessly by automating job creation from a template. Gone are the days of manually applying a template to a new client; you can now use Zapier to automate that process based on the parameters you set.
TL;DR: the Zapier integration represents an exciting new step for you to automate your workflow even more and save time and alleviate frustration. Zaps will give you the space you need to focus on improving service delivery and making your clients happy.
Important Things to Remember
While the Zapier < – > Jetpack Workflow integration is an exciting step forward, keep in mind a few tips to maximize its usage and ensure sensitive data remains safe.
- Permissions. Zapier requires that the person making these Zaps between systems has the correct level of permissions to make it happen. Typically on set up, Zapier will ask for the account to be authenticated. For Zaps to be modified at their endpoints any any time in the future, that user will also need to have the correct permissions in the software they are addressing.
At this time, the Jetpack Workflow user must have Owner level permissions to authenticate the application within Zapier. - Testing. We highly recommend testing an integration and how it should flow first. Ensure that all the data flows as it expected and that all stakeholders in utilizing this tool are on the same page for set up and delivery.
- Security. Be mindful of the apps you choose to connect to, and be familiar with their data privacy and security protocols. For a refresher, here are the Jetpack Workflow security terms. If you need to dig into Zapier’s security, their documentation is located here.
- Cost. Zapier has a freemium level for users that includes 5 Zaps and 100 Tasks per month. This is certainly a great level for testing things out, but as you progress into more advanced Zaps and connecting more applications, you’ll want to consider the Zapier pricing and decide which plan makes sense for your firm.
3 Top Jetpack Workflow Zap Templates
We wanted to get you started with some actionable Zapier Templates out the gate. Take a look at the full roll up on our Jetpack Workflow integration page on Zapier. Here are a few of our favorite templates so far. More to come as we learn alongside you as well!
1. Create Jetpack Workflow onboarding jobs for new Jetpack Workflow clients.
What it does: When a new Jetpack Workflow Client is created, this zap will automatically create a Job assigned to that Client from a selected template.
2. When a new Jetpack Workflow Client is created, automatically create a Job assigned to that Client from a selected template.
What it does: When you create a new QuickBooks Online customer, this integration automatically creates a corresponding Jetpack Workflow client without having to manually refresh your clients in Jetpack Workflow.
Note: You must already have Jetpack Workflow integrated with QuickBooks Online for this to work. See this support article for more details.
3. Add new Practice Ignition service agreement acceptances as Jetpack Workflow jobs.
What it does: When a client accepts a service in Practice Ignition, this integration automatically finds or creates a corresponding Jetpack Workflow client and then creates a Jetpack Workflow job for the work to be done for that service agreement.
Again, these are only just a few! Check out the full roll up on our integration page, and take some time to explore all the possibilities in the Zapier app library.
How to Get Started
Want to know how to get started with the new Jetpack Workflow Zapier integration? It’s easy! Check out the steps outlined below and check out the full webinar replay.
Step 1: Sign up for a Zapier account. Easy peasy.
Step 2: Create your first Zap.
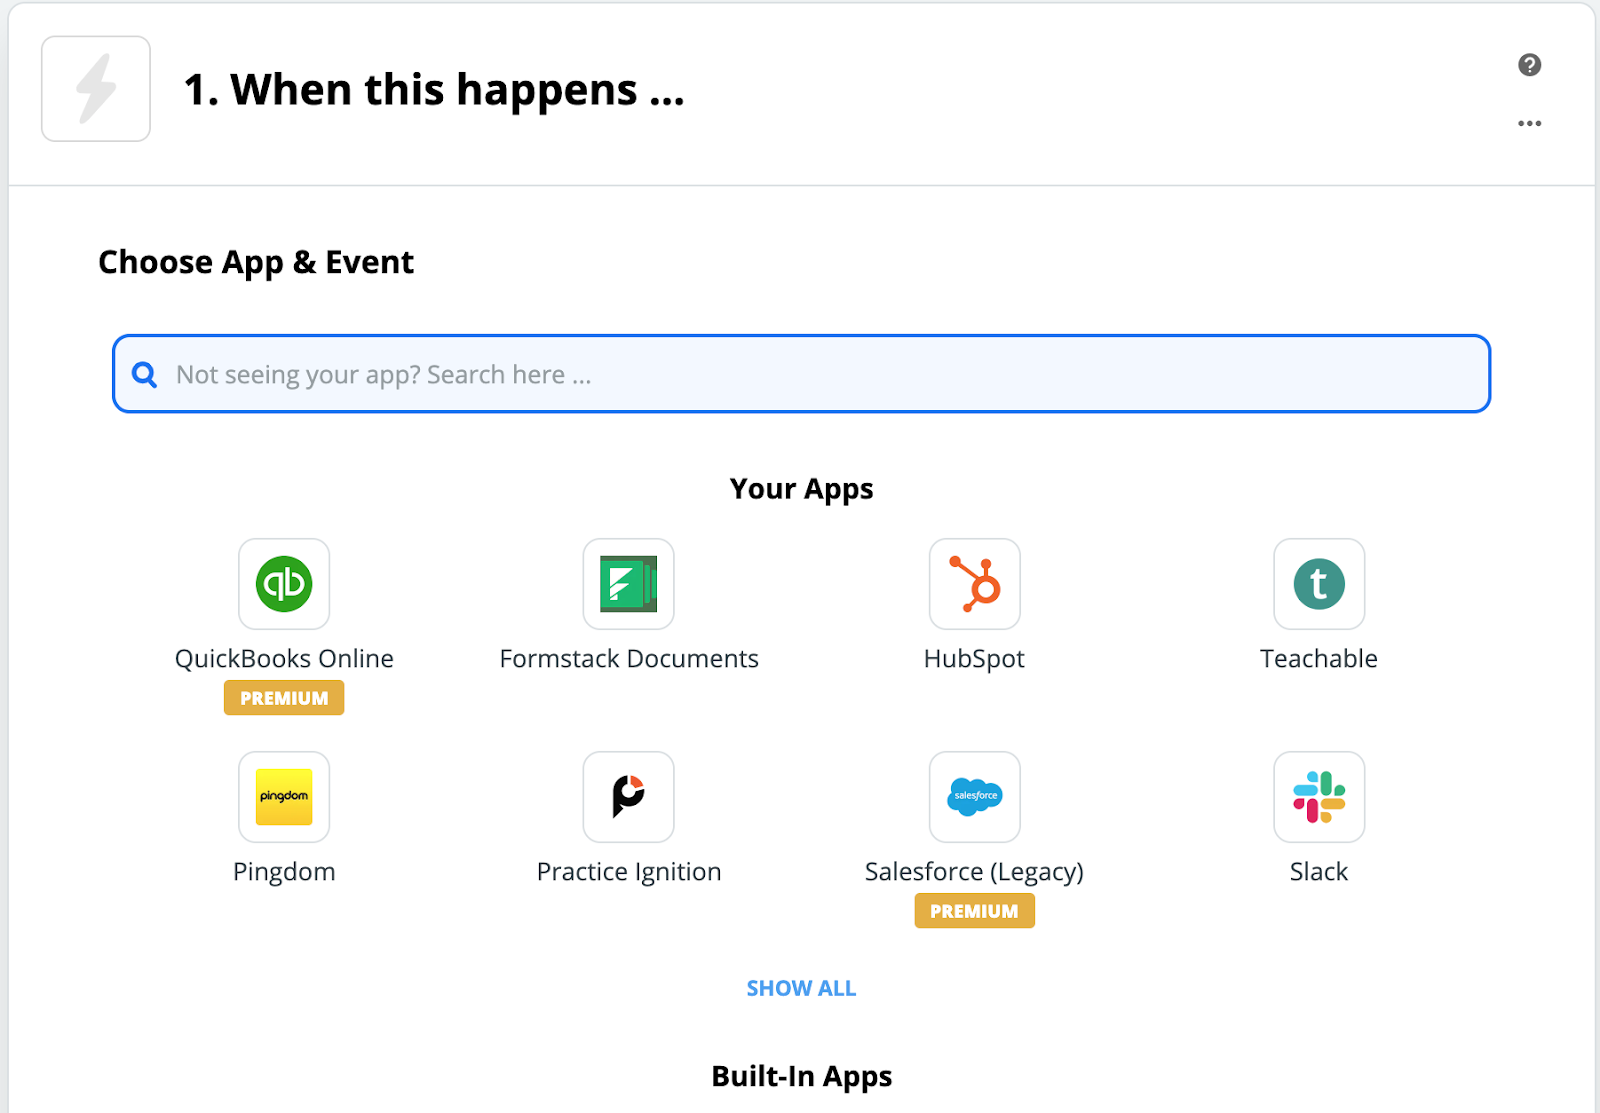
Step 3: Search for the app you’d like to connect to Jetpack Workflow.
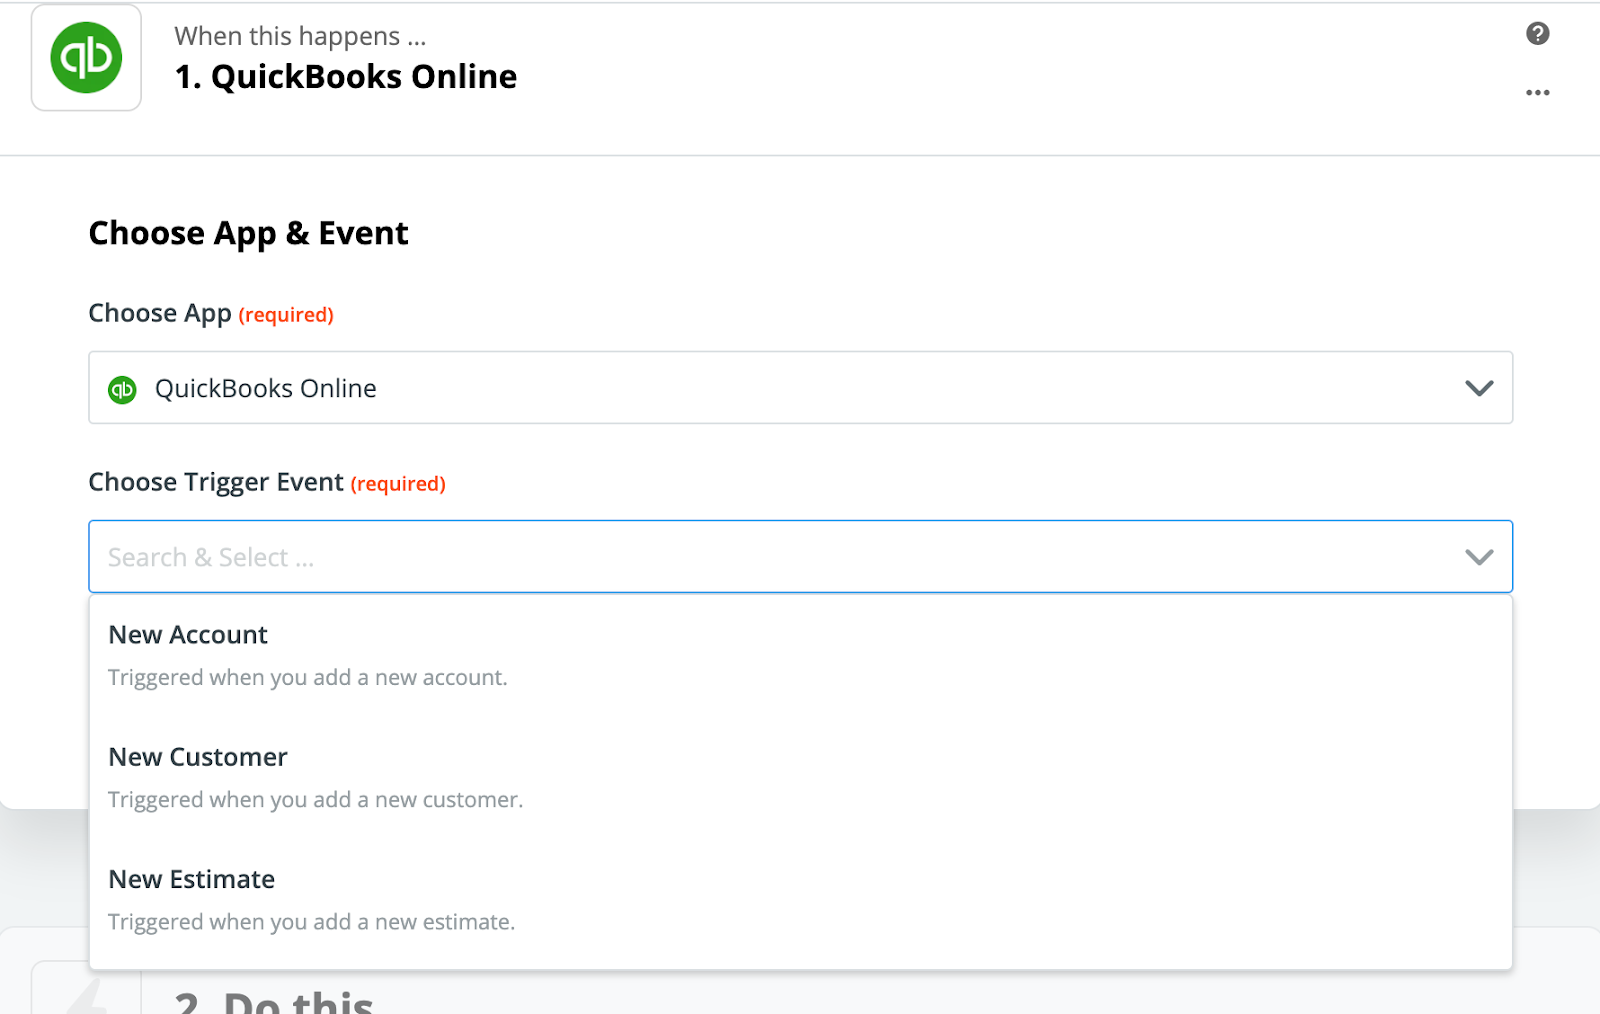
Step 4: Choose the Trigger Event that would send information to Jetpack Workflow and click Continue.
Step 5: Authenticate your login credentials for the selected app.
Step 6: Test the Trigger by finding a sample of data.
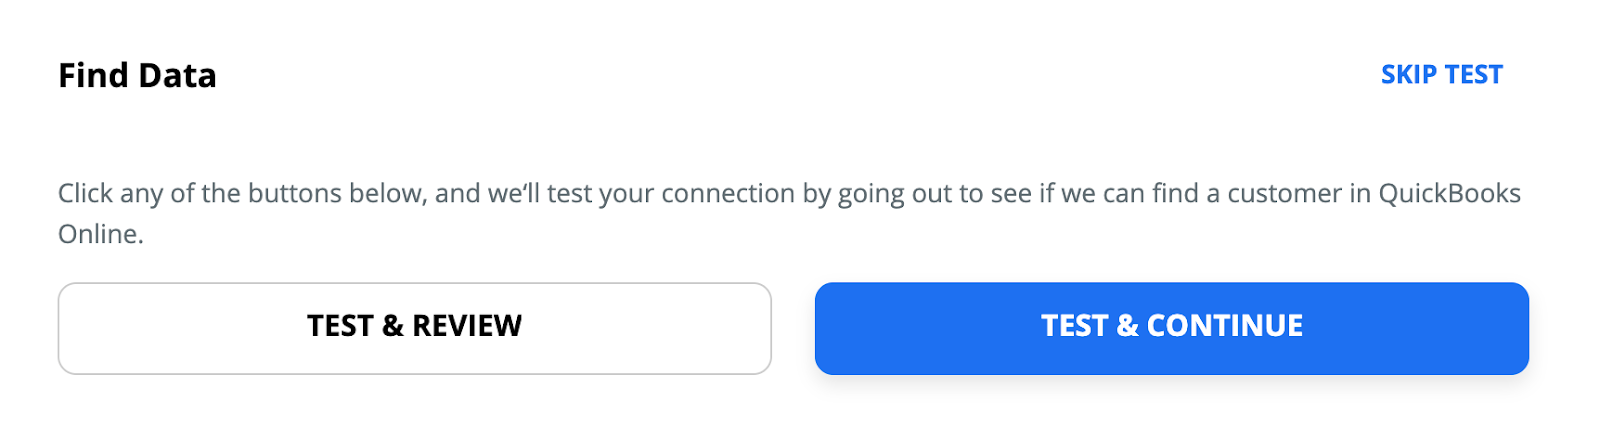
Step 7: Verify the incoming data and ensure it meets your expectations.
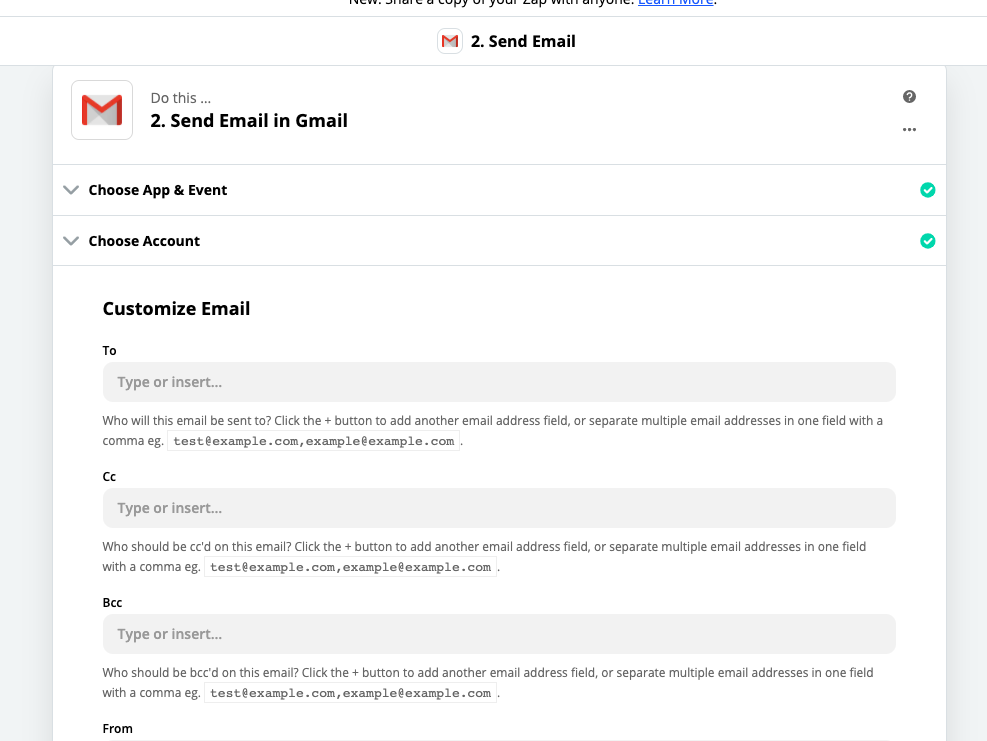
Step 8: Configure the Action in your selected app destination.
Step 9: Test the desired action in your destination app.
Step 10: Set live!
Ready, Set…Automate!
We’re thrilled that firm owners can now take their workflow automation even further with the Zapier and Jetpack Workflow integration. Now is a great time to set some time aside to dig in and find new ways to set yourself up for success in the coming months. Have a new idea for a zap template? Share in the comments below!

Share this article