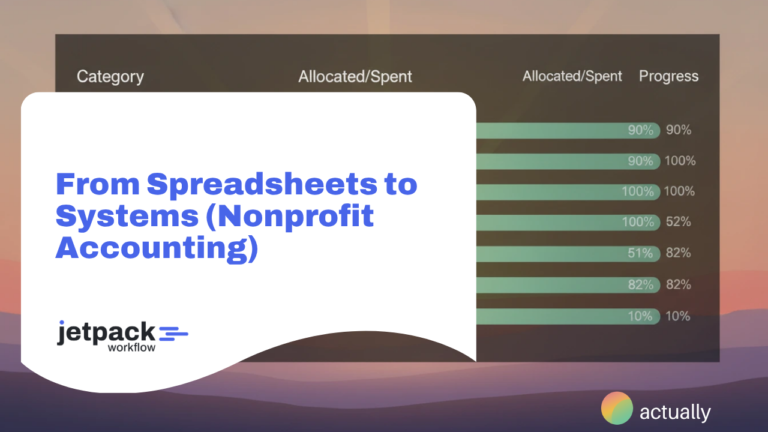
Tax Preparation Workflow: A 3-Step Guide (Diagram Included)

Scaling your firm and getting more clients can result in a busy tax season, which is good for your top line.
However, without the proper workflow structures to manage your expanding client base, you can wind up with constant bottlenecks and a hectic start to the year.
For many CPA firms, tax preparers, and accountants, creating a detailed tax preparation workflow helps keep their teams on track while also letting them uncover new opportunities for enhancing client satisfaction.
This guide breaks down the main steps in the tax preparation workflow. Plus, we share some expert insights into how you can create your own workflow diagram and deliver more efficient service.
The Benefits of Documenting Your Tax Preparation Workflow
For all the work a busy firm has to do, constructing a detailed tax prep workflow may seem unimportant. However, doing so offers several advantages in addition to providing a positive client experience:
- Consistency: Documenting your workflow ensures you provide every client with a consistent, value-driven service, which can drive higher client retention and increase referrals.
- Transparency: A clear, thorough workflow brings transparency to your team’s efforts. Everyone knows the stage a given tax return is at and what tasks remain.
- Efficiency: Creating a tax prep workflow allows you to identify potential bottlenecks and streamline your process to avoid them.
- Client expectations: A well-defined workflow helps your tax professionals set and manage client expectations, thanks to a straightforward description of deliverables and a general timeline for their completion.
Jetpack Workflow’s 3-Step Tax Preparation Workflow
As shown in the tax return diagram below, Jetpack Workflow’s accounting experts divide the tax preparation process into three main buckets:
- Receive and confirm
- Process and fulfill
- File and follow up
You can use this structure to visualize the process and break it down into smaller sections. Then, you can optimize it for quicker, better service delivery.

1. Receive and Confirm
The initial workflow stage is to request information from the client for their business or individual tax return. Your team should confirm they’ve received all relevant client data and documents, following up if anything is missing.
How you request the information varies depending on the systems your firm has in place.
You may have a client portal for sending requests and uploading tax documents or an email automation process so clients receive the request upon signing the engagement letter.
Setting clear expectations with your clients about what they’re responsible for and how to provide you with the necessary information is essential.
Having a visual for this client management step helps you foresee possible obstacles and determine ways to improve the onboarding process.
For instance, you could set up automatic alerts to remind clients you still need certain documents uploaded. Another option is to share a video tutorial with clients on easily exporting tax data from common content management systems (CMS) platforms like Shopify.
2. Process and Fulfill
With all the prep work finished, you can start processing the client’s individual or business tax return. Your firm likely uses a specific tool or platform for preparing returns, which are then passed on for review by a partner when complete.
Being transparent during this review stage lets your tax preparers see which parts of the return are under review and why.
As a result, they can improve their tax preparation processes to reduce the time spent in review. Clients appreciate this transparency, too, since it shows them exactly where their return is during the process.
Possible bottlenecks during this stage can occur when requesting missing information from clients. It forces your team to revisit completed sections of the return and input the new data once they receive it.
Firms can streamline this process and save resources by creating more comprehensive checklists for the information needed from clients to complete returns.
3. File and Follow Up
The last stage of the tax preparation process includes a final review of the return, filing it, and scheduling a follow-up meeting with the client.
At this final appointment, you provide a summary of their return, answer any additional questions they may have about their tax situation, and request payment. It also allows you to set up additional meetings to discuss other services you offer throughout the year.
Though it’s not uncommon for accounting firms to take payment after filing the return, requesting payment upfront can help you better manage your cash flow.
This way, you can avoid chasing payments once you file returns and instead focus on other vital tasks to grow your firm.
Our team also created a video walkthrough of this whole process, which you can watch here:
Create Your Own Tax Preparation Workflow Diagram
You can design your workflow diagram in several ways.
If you prefer something tangible, you may opt for sticky notes or a whiteboard, which you can then transfer to a digital format using Google Drawings, Microsoft Visio Pro, or draw.io.
What matters most is to create the diagram so that your team understands and is receptive to it. Customize or tailor the process as you see fit.
When developing your workflow diagram, we highly recommend inviting input from your team. They have hands-on experience and know the nuances of the process and the consistent bottlenecks that occur. Their suggestions can help you optimize your workflow.
Ready to standardize, automate, and track your client tasks and better manage upcoming tax work? Streamline your firm’s workflows today. Start your free trial of Jetpack Workflow.
Share this article