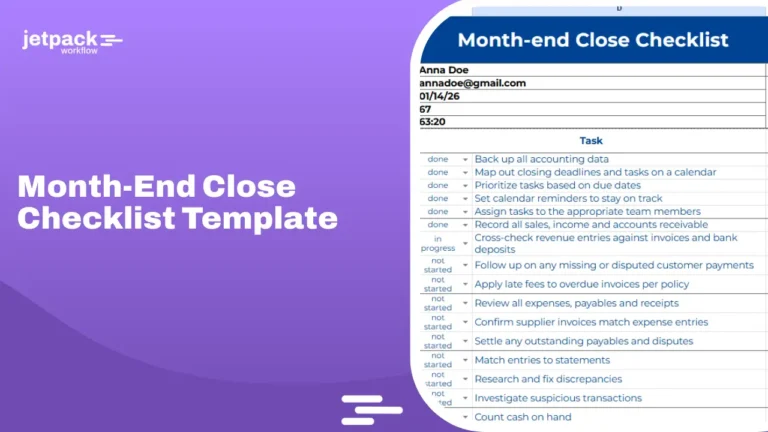
9 Vital Bookkeeping Clean-Up Checklist Items (Free Template)

As a bookkeeper, it’s your responsibility to keep your clients’ books in order. This means performing a clean-up at the end of each period.
There are several steps involved in bookkeeping clean-up. By following the same process each month, you can ensure your clients’ books are in order and that you have not missed any steps.
This free bookkeeping clean-up template will help you organize your workflow. If you work with multiple team members, having each person log each step in the process ensures you can monitor progress.
Though the free template will work, teams should look at automated workflow management software to make the process more efficient.
Nine Key Bookkeeping Clean-Up Tasks to Include in Your Checklist
By following the nine (plus a bonus) steps outlined below, you can clean up your clients’ books, and rest assured you’ve taken every step in the process.
1. Receive client information
The first step is receiving client information (which can often be the most challenging step in the process). You may receive your client information as a physical or electronic file.
If you are working with a physical file, make sure you have all of the information from the business owner that you need before you begin the process. This includes bank statements, invoices, and receipts.
If you are working with an electronic file, you will need to download the information from the client’s financial institutions or wait for your client to send you PDFs each month. Ensure you have the most recent information and good data before beginning the process.
If you have to wait for clients to send you files each month (instead of downloading them directly), you may want to set up an automated reminder email at the beginning of each month, so there is no delay.
2. Organize client’s information
The next step is to organize the client’s information. Sort through invoices, credit card statements, receipts, bank statements, and other necessary financial data. At this point, you should identify any missing information and reach out to your clients for clarification or additional documentation.
It’s much better to ask for information in a timely manner. Waiting until the end of the year to clarify points will be much more difficult (and will take more time for you and your client).
3. Enter client information
Once you’ve verified that you have all the information you need to complete your accounting process, you should enter (or import) your cliens’ information into your accounting software.
The process should be reviewed regularly to look for software solutions that can save you time and hassle. Modern software can scan invoices and import accounts payable information directly into various software. Financial institutions allow access to bank feeds which allow you to import most transactions directly.
This is also an opportunity to reach out to your professional network and see if anyone else has identified tools to make processes run smoother.
4. Reconcile accounts
The heart of the bookkeeping process is to ensure your clients’ financial records are complete and accurate. Regularly reconciling your clients’ accounts ensures this is true.
Software like QuickBooks Online will automatically reconcile accounts if you’ve given the software access to automatic feeds. However, the reconciliation should still be reviewed for accuracy and compared to bank statements.
5. Correct errors
Though most errors in bank transactions are caught during the reconciliation process, you should verify the ending balance in each account once you’ve finished your monthly bookkeeping process.
This will catch any transaction posted to an account after it has been reconciled and avoid messes for everyone.
6. Review categorizations
With all the automatic importing of transactions and automatic categorization, it can be easy to overlook this step. Ensure you review the expense accounts at the end of each month to verify that the transactions have been posted to the proper expense accounts.
If you create monthly profit and loss statements, you will be able to identify expense categories with unusually high (or low) expenses for the month, which may imply that transactions have been improperly categorized.
7. Review prep work
You need to make sure that the documentation is complete. This includes verifying that you have documentation to back up all transactions.
An important part of the process is ensuring your documentation is properly filed away (whether physically or electronically) so you can find the backup if any questions are raised later.
8. Run reports
Once you’ve verified all your documentation is in order, you can put together financial statements for your clients. You should regularly check in to ensure the reporting you are providing is useful for them so you can ensure you are not wasting time producing reports that are not being used.
9. Send reports to clients
The final step is to send the monthly reporting to your clients. If you notice any unusual items or trends, you should include comments or questions when you send them the report.
Bonus Step
Set up your checklist for the following month. This can include assigning due dates and team members. If you’re using an automated workflow system, this step may happen automatically. If you’re using a paper-based system or spreadsheet, you will need to manually create the following month’s checklist.
By following these nine steps, you can clean up your clients’ books and rest assured that you’ve taken every step in the process. If you work with multiple team members, having each team member log each step in
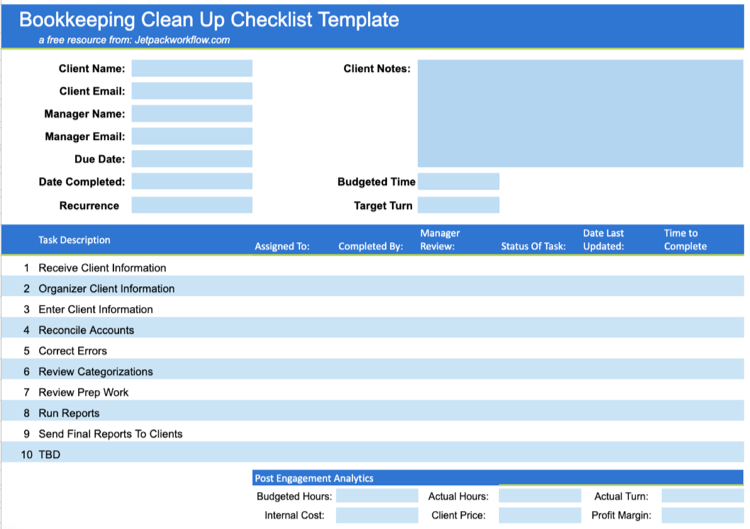
Free Template – Bookkeeping Clean-Up Checklist
There’s no need to start your bookkeeping clean-up checklist from scratch. We’ve created a template for you to use and customize for your specific needs.
Best Places to Keep Your Bookkeeping Checklists
When it comes to checklists, you have a few options for maintaining them:
#1: On Paper
Pros
- Simple
- Easy to take with you
- Can get started immediately
Cons
- Easy to lose
- Hard to share with team members
- Can’t be automated
#2: Shared Spreadsheet
Pros:
- Straightforward
- Easy to share access
Cons:
- Becomes unwieldy for large teams
- Hard to automate processes
- Does not integrate with other programs
- No predefined templates
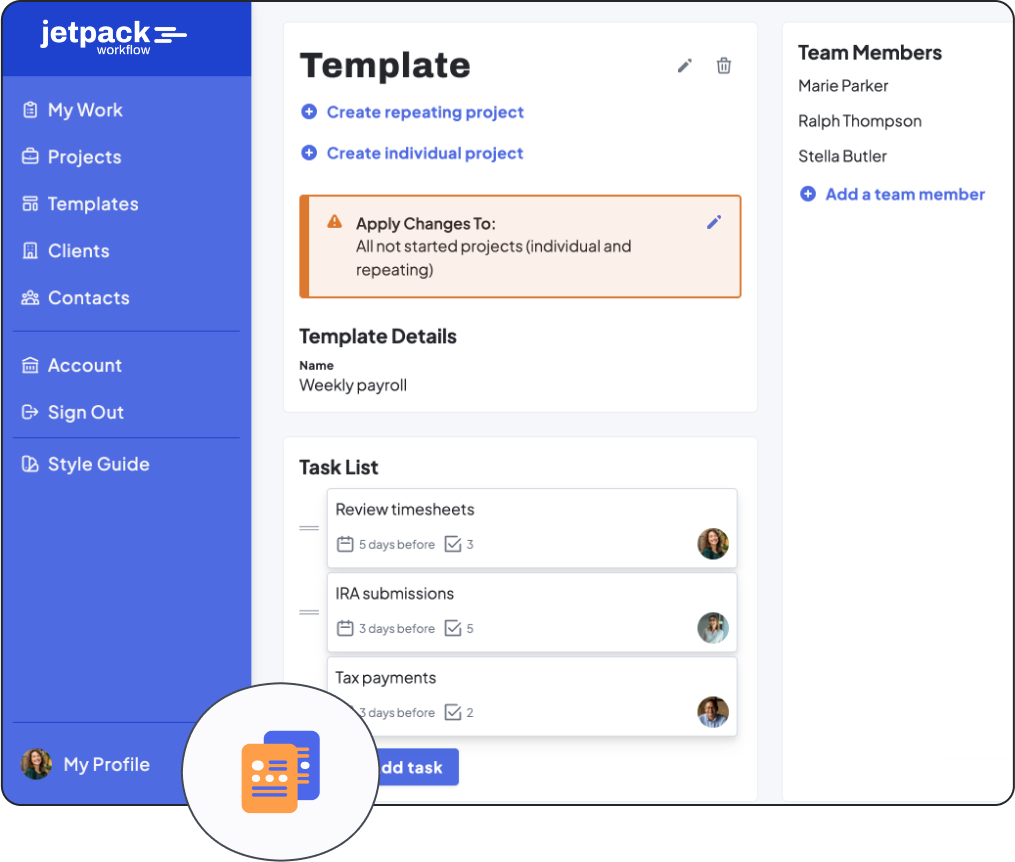
#3: Jetpack Workflow
Jetpack Workflow was designed with accountants and bookkeepers in mind and comes preloaded with workflow templates customized for accounting tasks. You can easily customize the templates if the workflows don’t perfectly align with your processes.
Pros:
- Dedicated bookkeeping software
- Predefined templates
- Highly-rated customer support team
- Useful reporting
- Daily reminders for what needs to be done
- Assists with allocating resources
- Integrated billing
Cons:
- Not free, but affordable
Learn more about Jetpack Workflow (and start a free 14-day trial) here.
Share this article